

Volkswagen R32T Badges
30 June 2023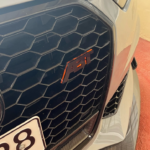
Audi ABT Badges
30 June 2023
Audi Quattro Bootlid Emblem
Update the look of your vehicle with these modern, sharp, eye-catching badges, an aftermarket design crafted to precision exclusively for the Audi Range.
If there is a colour combination you require but it is not listed in the options, please contact us and we can tailor for your specific requests.
£30.00
Quattro Boot Badges
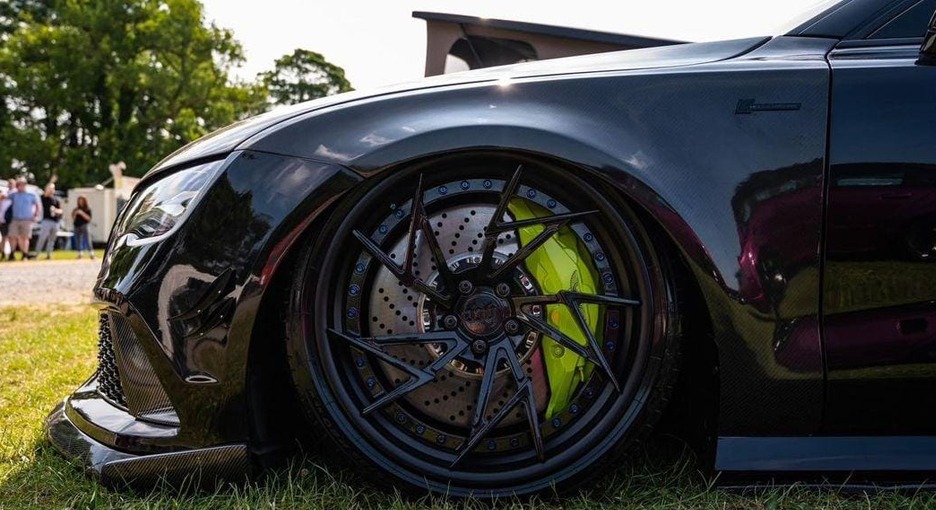
Stlye Your Vehicle.
Compatible Audi Models
Update the look of your vehicle with these modern, sharp, eye-catching badges! These fender emblems are available to purchase and customize to your desires.
These badges have been tried on tested over various models of the Audi.

Customer Note
These products are not OEM products and are custom made aftermarket products. They are intended to replace your original badges on your vehicle. All our products are made to order and there could be a potential 3 business day lead time in worst case scenarios. Please be aware that we do not accept returns due to being custom made items and are not resellable once dispatched.
Product Specifications
- Fender Badges – Rear Badges come supplied with 3M Extra Strong Adhesive on the back, this adhesive provides a flush looking fitment to your vehicle.
- Measurement: Approx 57mm x 24mm (2 pieces are supplied in this pack).
Specification

| Brand | The Plate Gram |
| Production Time | 1-3 Business Days |
| Delivery (UK) | 1-3 Business Days |
| Delivery (Overseas) | 5-7 Business Days |
| Specific Uses For Product | Automotive Parts |
| Warranty | 30 Days |
| Fabrication | Laser Cut |
| Adhesive Brand | 3M |
| Usage | Outdoor / Indoor |
| Fixtures | Fittings Included |
| Returns | Not Applicable |
Production Terms:
We aim to produce all orders within 48 hours of purchase. In the case that your colours are not in stock we will attempt to achieve stock fulfillment within 72 working hours – we will keep you updated on any issues or delays with your purchase.
Shipping Terms:
Royal Mail Signed For® 1st Class
- Online delivery confirmation
- Signature on delivery (we cannot leave items in a ‘safe place’).
- Aim to deliver next working day, including Saturdays
- Royal Mail International Tracked
Europe delivery aim: 3-5 working days
- Worldwide delivery aim: 5-7 working days
- Fully tracked to delivery point
- Online delivery confirmation
Fitting Instructions (FENDER BADGES)
STEP 1: Clean the surface you are applying the badge to with a mild cleaner or rubbing alcohol, making sure no residue is left behind.
STEP 2: Carefully peel the backing layer from the rear of the badge. Only a glue like layer should be left behind on the rear of the badge.
STEP 3: APPLICATION – Place your badge on the desire surface, press firmly ensuring any air behind the badge is pressed out.
STEP 4: Stand back and enjoy the new subtle modification!
| Weight | 100 g |
|---|---|
| Dimensions | 112 × 15 × 6 mm |
| Brand | The Plate Gram |
You must be logged in to post a review.
Related products
-
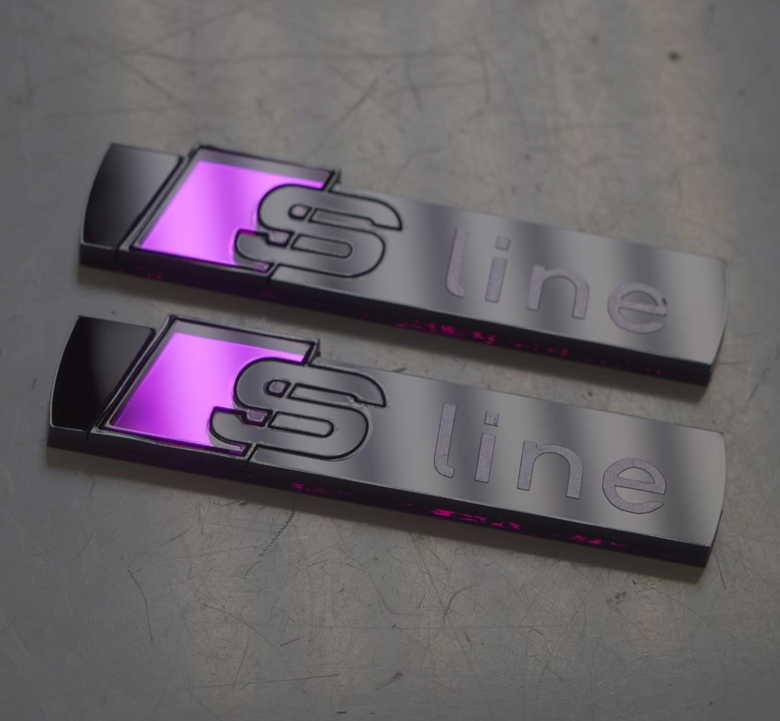
Audi SLine Fender Emblems (x2)
Price range: £45.00 through £85.00Update the look of your vehicle with these modern, sharp, eye-catching badges, an aftermarket design crafted to precision exclusively for the Audi Range. Both Front & Rear Badges are available to purchase and customize to your requirements.
If there is a colour combination you require but it is not listed in the options, please contact us and we can tailor for your specific requests.
-
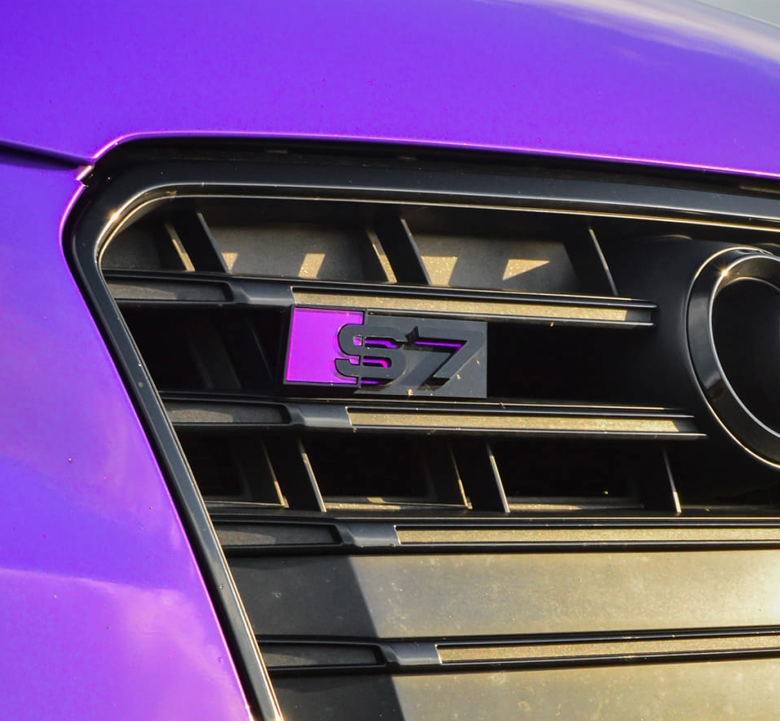
Audi S7 Badges
Price range: £30.00 through £65.00Update the look of your vehicle with these modern, sharp, eye-catching badges, an aftermarket design crafted to precision exclusively for the Audi RS3. Both Front & Rear Badges are available to purchase and customize to your requirements.
If there is a colour combination you require but it is not listed in the options, please contact us and we can tailor for your specific requests.
-
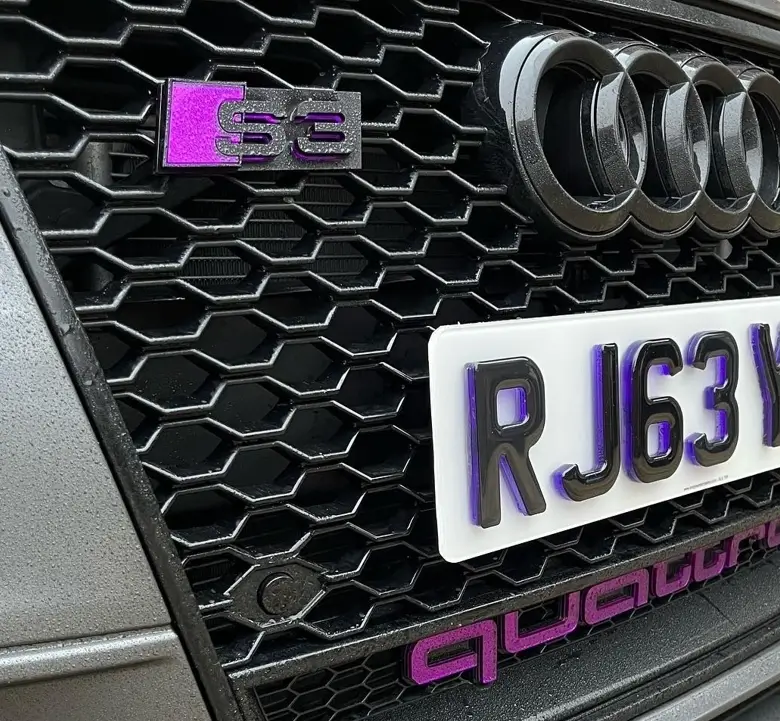
Audi S3 Badges
Price range: £30.00 through £65.00Update the look of your vehicle with these modern, sharp, eye-catching badges! Both Front & Rear Badges are available to purchase and customize to your desires.

Reviews
There are no reviews yet.